
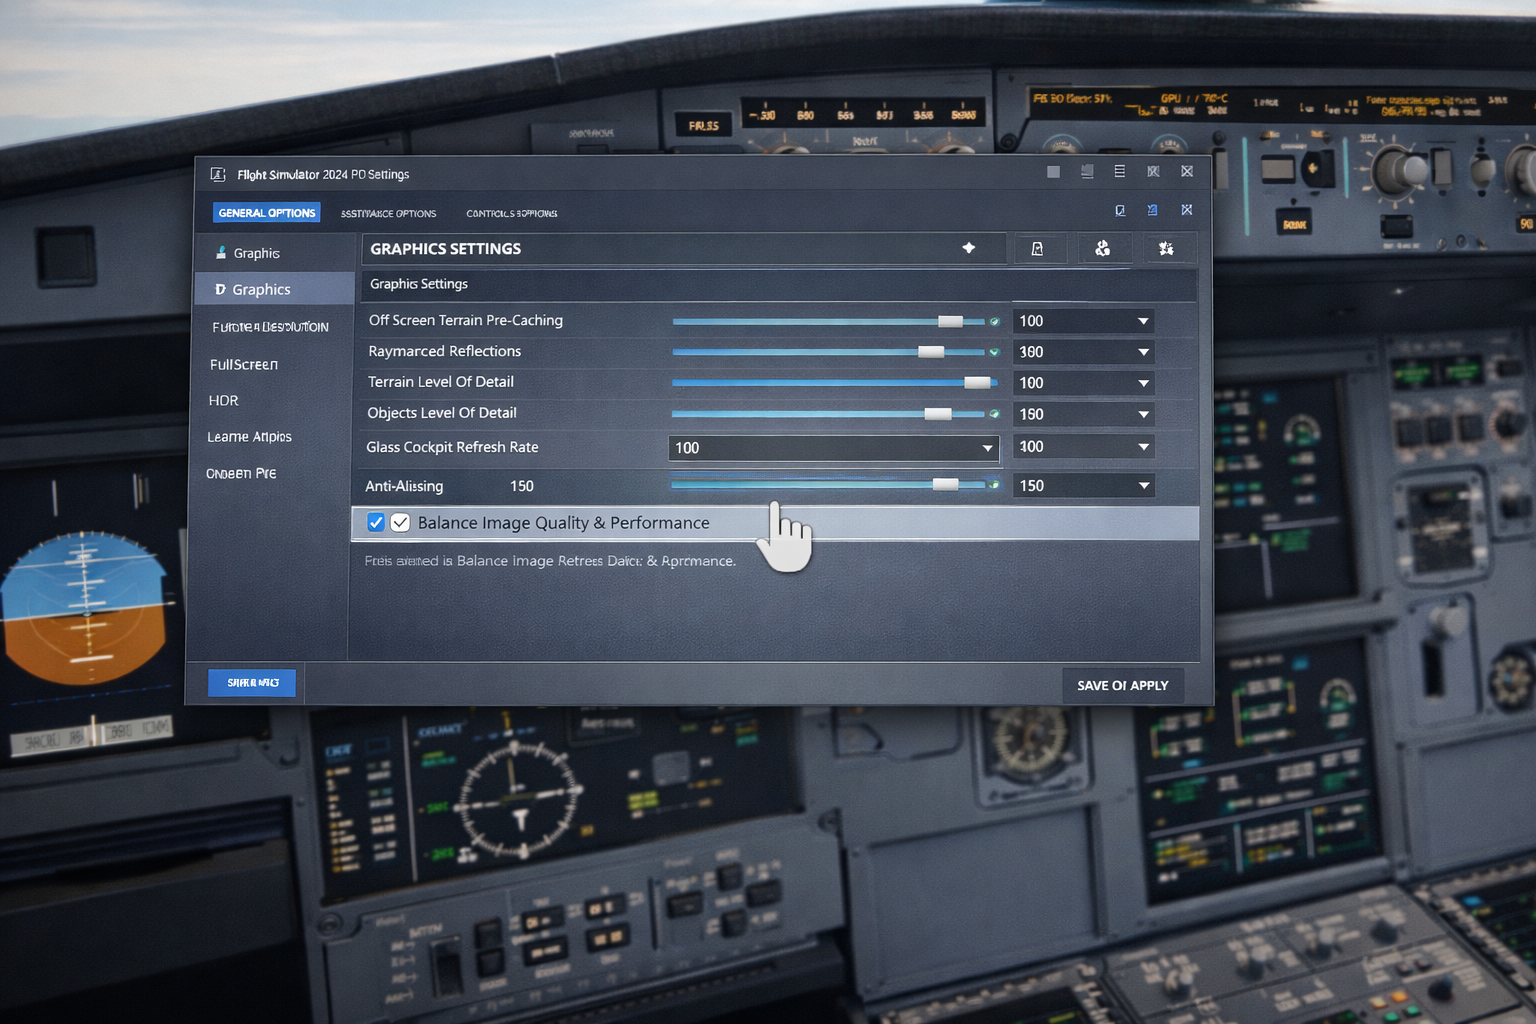
In this MSFS 2024 Graphics Settings Guide, getting Microsoft Flight Simulator 2024 looking good is not simply a matter of selecting the Ultra preset and hoping for the best. A few settings can make a considerable difference to performance, while others can be reduced without noticeably affecting the view
These are the settings I use as a starting point on my own computer, which has an NVIDIA RTX 5070 graphics card, an Intel i7-14700F processor, 32 GB of RAM and a 3440 × 1440 ultrawide monitor. They should also provide a useful starting point for anyone with a reasonably powerful gaming PC.
My Quick Recommendation
Start with the Ultra preset, change anti-aliasing to TAA, enable Frame Generation if available, and then reduce Terrain Level of Detail, Object Level of Detail and traffic if performance becomes uneven.
Start With the Ultra Preset
I prefer to begin with Ultra rather than slowly increasing settings from Medium or High-End. This gives me the best-looking version of the simulator first, and I can then reduce the handful of settings that have the greatest effect on performance.
After selecting Ultra, choose Apply and Save. The simulator will now use Ultra as the foundation for your custom settings.
Display Settings
- Display Mode: Full Screen
- Resolution: Your monitor’s native resolution
- HDR10: Use only if your monitor supports HDR and the image genuinely looks better
- V-Sync: Off initially
- Frame Rate Limit: 30, 40 or 60 FPS depending on your system
- DirectX Version: DirectX 12
I currently get pleasing results with HDR enabled in Windows 11 but disabled inside MSFS 2024. HDR varies considerably between monitors, so I would judge this by the actual picture rather than assuming that HDR must always be enabled everywhere.
TAA or DLSS?
For my simulator, I prefer TAA because it generally gives me clearer cockpit instruments, sharper labels and less softness on glass displays. Flight simulation involves reading small numbers and text, so cockpit clarity matters more to me than achieving the highest possible frame-rate figure.
DLSS Quality is still worth trying, especially if the graphics card is struggling at a high resolution. It can provide smoother performance, but the cockpit may look slightly softer. I would begin with TAA at 100 render scaling and only change to DLSS Quality if additional performance is needed.
Worth Knowing
Do not judge TAA and DLSS by frame rate alone. Sit in your usual cockpit position and compare the flight displays, overhead panel labels, distant scenery, and moving aircraft.
Recommended Quality Settings
- Render Scaling: 100
- Terrain Level of Detail: 150–200
- Objects Level of Detail: 150–200
- Buildings: Ultra
- Trees: Ultra
- Grass and Bushes: High
- Volumetric Clouds: Ultra
- Texture Resolution: Ultra
- Anisotropic Filtering: 16x
- Texture Supersampling: High or Ultra
- Water Waves: High
- Shadow Maps: 2048
- Terrain Shadows: 1024
- Contact Shadows: Ultra
- Windshield Effects: Ultra
- Ambient Occlusion: Ultra
- Reflections: High
- Light Shafts: Ultra
- Bloom: Personal preference
- Motion Blur: Off
- Depth of Field: Off
Terrain Level of Detail affects how far detailed terrain is drawn and can place considerable demand on the processor. Object Level of Detail controls the distance at which buildings and other objects retain their detail. Values around 150 to 200 provide a sensible balance for my system without pushing them to unnecessarily high levels.
Frame Generation
If you have a supported NVIDIA graphics card, Frame Generation can make the simulator appear considerably smoother. I recommend trying it, particularly when flying complex aircraft into detailed airports.
Frame Generation works best when the simulator already has a reasonable underlying frame rate. It cannot completely repair severe stutters caused by an overloaded processor, excessive traffic or a demanding airport.
Traffic Settings
Traffic is one of the first areas I reduce when performance drops. Busy airports can place a heavy load on the processor, especially when using detailed airliners, GSX and additional traffic software.
- Airport Workers: Medium
- Road Vehicles: 20–30
- Ships and Ferries: 20–30
- Leisure Boats: 20–30
- Aircraft Traffic: Adjust according to your traffic add-on
What to Reduce First
If the simulator is not running smoothly, I would make changes in this order:
- Reduce Terrain Level of Detail.
- Reduce Object Level of Detail.
- Reduce airport, road and aircraft traffic.
- Lower reflections and shadow quality.
- Change volumetric clouds from Ultra to High.
- Try DLSS Quality instead of TAA.
Change one setting at a time and test at a demanding airport in the aircraft you normally fly. Testing in a simple aircraft over open countryside may give excellent results that disappear as soon as you load the PMDG 737 at a major airport.
My Final Thoughts
There is no single perfect graphics configuration for every computer, aircraft and airport. My preferred approach is to start with Ultra, retain the settings that visibly improve the simulator, and reduce those that consume performance without adding much to the experience.
For me, smooth and consistent performance is more important than chasing a large frame-rate number. A steady simulator with clear instruments, detailed scenery and fewer stutters feels far more realistic than an unstable setup running every setting at its maximum.
Thanks for reading. I hope the information above helps make your flight simulation feel more real.

- You Know You’re a Flight Simmer When… - 12 August 2026
- Pete’s Ultimate MSFS 2024 Graphics Settings Guide - 1 August 2026
- How to Use GSX with the PMDG 737-800 in MSFS 2024. - 20 July 2026